This video shows my full Carl’s PRO Enclosure build + how to assemble & hands-on review—covering frame setup, screen tension, light control, safety, and real-world performance for home studios, sim bars, and fitters. Email me for the GSV Discount Code on Carl’s Products & more at: a98cr125@gmail.com
My Carl’s Referral Link: https://alnk.to/1N4N8eR
Email me for discount codes
4K Touchscreens: Touch Screen Guru: https://www.touchscreenguru.com/?aff=2
Use Discount Code: GSV5
What you’ll learn
PRO vs DIY: who should choose Carl’s PRO Enclosure and why
Frame assembly tips for a tight, square build (no sagging corners)
Impact screen tensioning to reduce bounce & wrinkles
Bungees, flaps & light management for a clean, commercial look
Safety add-ons: side protection, ceiling coverage, and ball containment
Projector placement basics
Noise/impact feel vs budget screens
Sizing guidance & upgrade paths (mats, launch monitors, curtains)
My verdict after building and testing it
If you have room dimensions or a tricky projector throw, drop them in the comments—I’ll help you dial it in. If this helped, like/subscribe so you catch the next build guide and long-term updates.
Affiliate disclosure: Some links may be affiliate links, which means I may earn a small commission at no cost to you. Thanks for supporting the channel—it helps me make more in-depth golf-sim content!
Chapters
00:00 Commercial Golf Simulator Intro
03:04 Build Timelapse
05:05 Detailed Component Review
05:14 Enclosure Dimensions
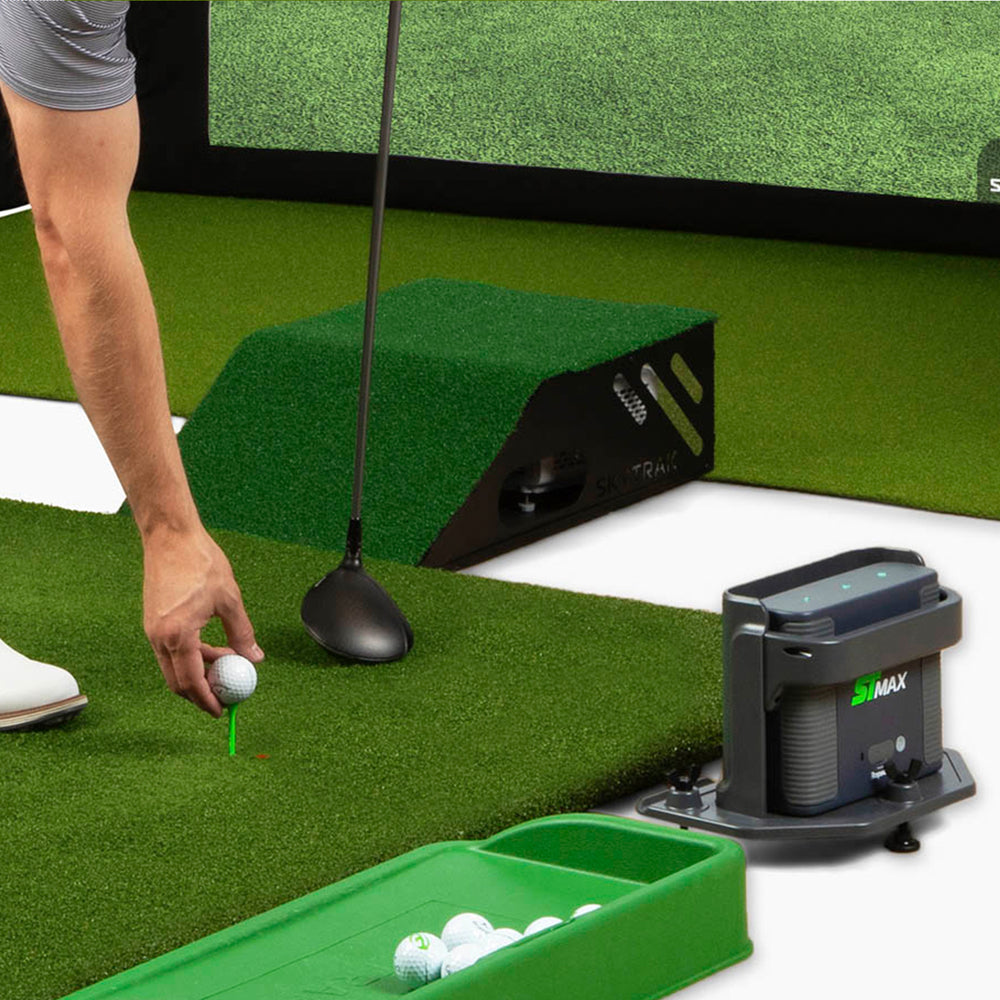
05:45 Carl’s Hot Shot Mat
06:08 SynLawn Putting Turf
06:54 Carl’s Premium Grey Screen
07:21 New BlackStop Enclosure Fabric
08:23 Adjustable Crossbar & UNEEKOR EYE XO
08:53 43″ 4k Touchscreen Guru Touchscreen
09:53 Wireless Keyboard & Touchpad
10:16 Enclosure Exterior & Back Cover
14:29 Putting in Sim + SynLawn Precision Putt Turf
07:50 Epson L795SE Projector
11:30 Demo Shots
17:49 Final Thoughts
#GolfSimulator #CarlsProEnclosure #CarlsPlace #GolfSimBuild #GolfSimulatorSetup
DIY Home Golf Simulator, Touch Screen Monitors