Carl's Place Golf Simulator Enclosures: DIY & PRO — Jay's Complete Review
Jay has built multiple Carl's enclosures from the ground up — the DIY, the updated ground-level screen, and the commercial PRO. Everything you need to know before buying, plus an exclusive discount code you can only get by emailing Jay directly.

Jay's Exclusive Carl's Discount Code — Available by Email Only
Carl's Place keeps their discount codes off public coupon sites to protect their value — which means the only way to get a working code is through an authorized affiliate who gives it out directly. Jay has one of those codes and will send it to anyone who emails him. It takes 30 seconds and saves you real money on a purchase that can run into the thousands.
Get Jay's Carl's Place Discount Code
Email Jay at a98cr125@gmail.com with your name and what you are looking to buy — DIY enclosure, PRO enclosure, impact screen, or mat. He will reply with the code and his honest recommendation for your specific space and budget. Takes 30 seconds to email, saves you money on a $500–$5,000 purchase.
Related Resources from Jay
Carl's DIY vs Carl's PRO — Which One Is Right for You?
Carl's Place makes two distinct enclosure lines. Understanding which one fits your situation before you buy is the most important decision you will make in your simulator build. Jay has built both and the difference is significant.
Carl's DIY Enclosure
The most popular home golf simulator enclosure on the marketThe Carl's DIY is the entry point and for most home builders it is the right and only call. It assembles in about an hour with one person, comes in a variety of standard sizes, and delivers a clean, functional hitting bay without requiring a contractor or custom installation.
The updated version now features a screen that goes all the way to the floor — addressing the most common complaint about the original where a gap at the bottom let light in and allowed miss-hit shots to escape. Jay covers this update in detail in his latest DIY review video.
- Easy solo assembly — roughly 60-90 minutes
- Standard sizes for most garage and basement setups
- Updated screen goes fully to the floor
- Compatible with all projectors and launch monitors
- Carl's Premium Impact Screen available
- Best value entry point for home simulator builds
Carl's PRO Enclosure
For commercial facilities, serious home builds, and large baysThe PRO is Carl's commercial-grade enclosure line. It is built for facilities where the simulator runs all day, every day, for multiple users. Jay built the PRO at Warwick Hills Golf and Country Club and in several commercial bay installations — the build quality difference over the DIY is immediately obvious when you are assembling it.
PRO enclosures support bays up to 20 feet wide and 20 feet deep, come with shot-absorbing border cushions, a solid black knit fabric ceiling, and are designed for left and right-handed play from a centered position. Custom sizing is available.
- Supports bays up to 20' wide x 20' deep
- Shot-absorbing border cushions standard
- Black knit fabric ceiling — commercial grade
- Left and right-handed play from center
- Designed for continuous commercial use
- Custom sizing available
- Timelapse build video available from Jay
Custom Build Packages
Enclosure + Launch Monitor + PC — bundled and priced by JayNot sure how to piece together a complete simulator build? Jay can put together a custom package combining a Carl's enclosure with a launch monitor, SurfThing PC, touchscreen monitor, projector, and turf — matched to your room dimensions, budget, and goals. One email, one plan, one build.
Jay has hands-on experience with every major launch monitor and has built simulators from budget DIY setups to commercial multi-bay facilities. He can help you avoid the expensive mistakes that come from buying components that do not work well together.
- Carl's enclosure matched to your room
- Launch monitor recommendation for your budget
- SurfThing PC sized to your display and software
- Projector or touchscreen monitor guidance
- Turf and mat recommendations
- Discount codes on every component where available
Jay's Full PRO Enclosure Build — Timelapse, Walkthrough & Demo Shots
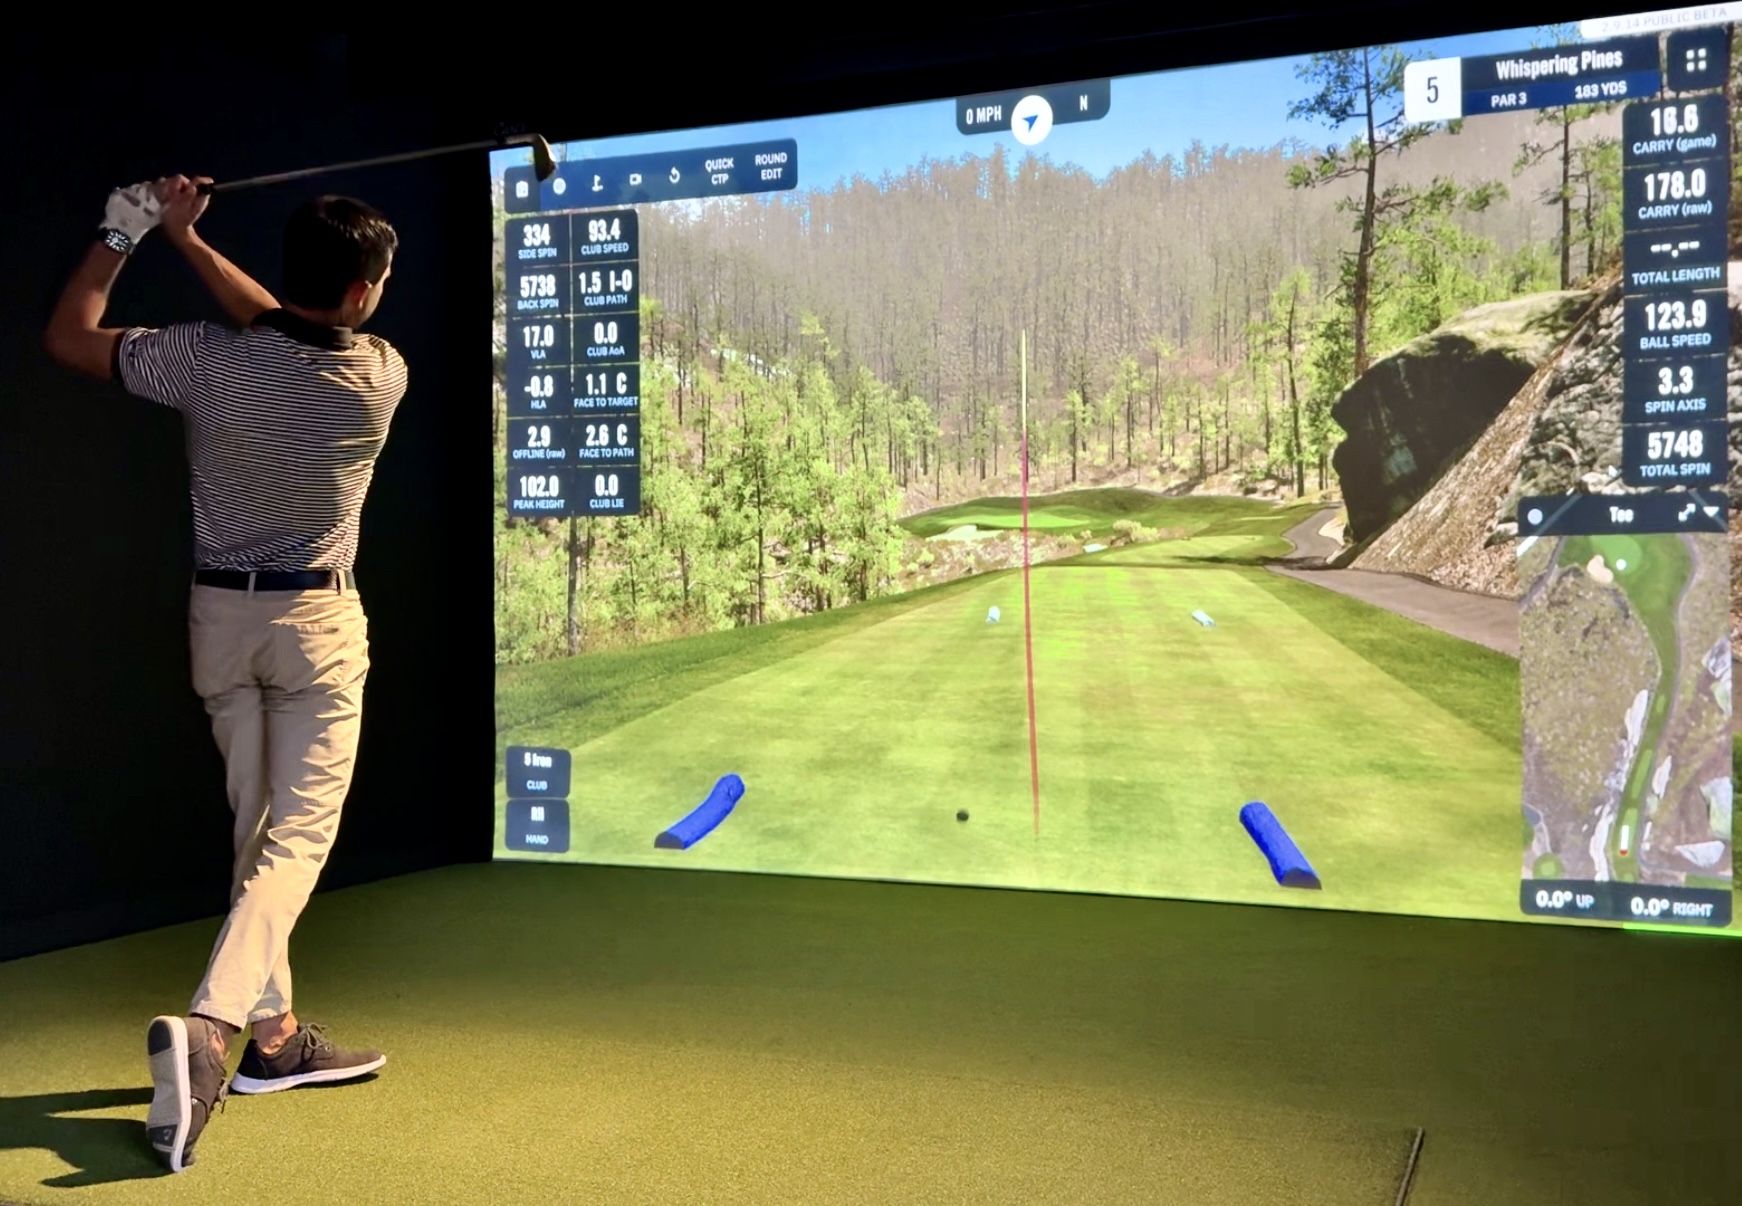
This is Jay's most complete Carl's video. Full assembly timelapse, detailed component walkthrough covering the frame, screen tension, light management, border cushions, ceiling, safety additions, and then real demo shots using a launch monitor. Watch this before buying the PRO.
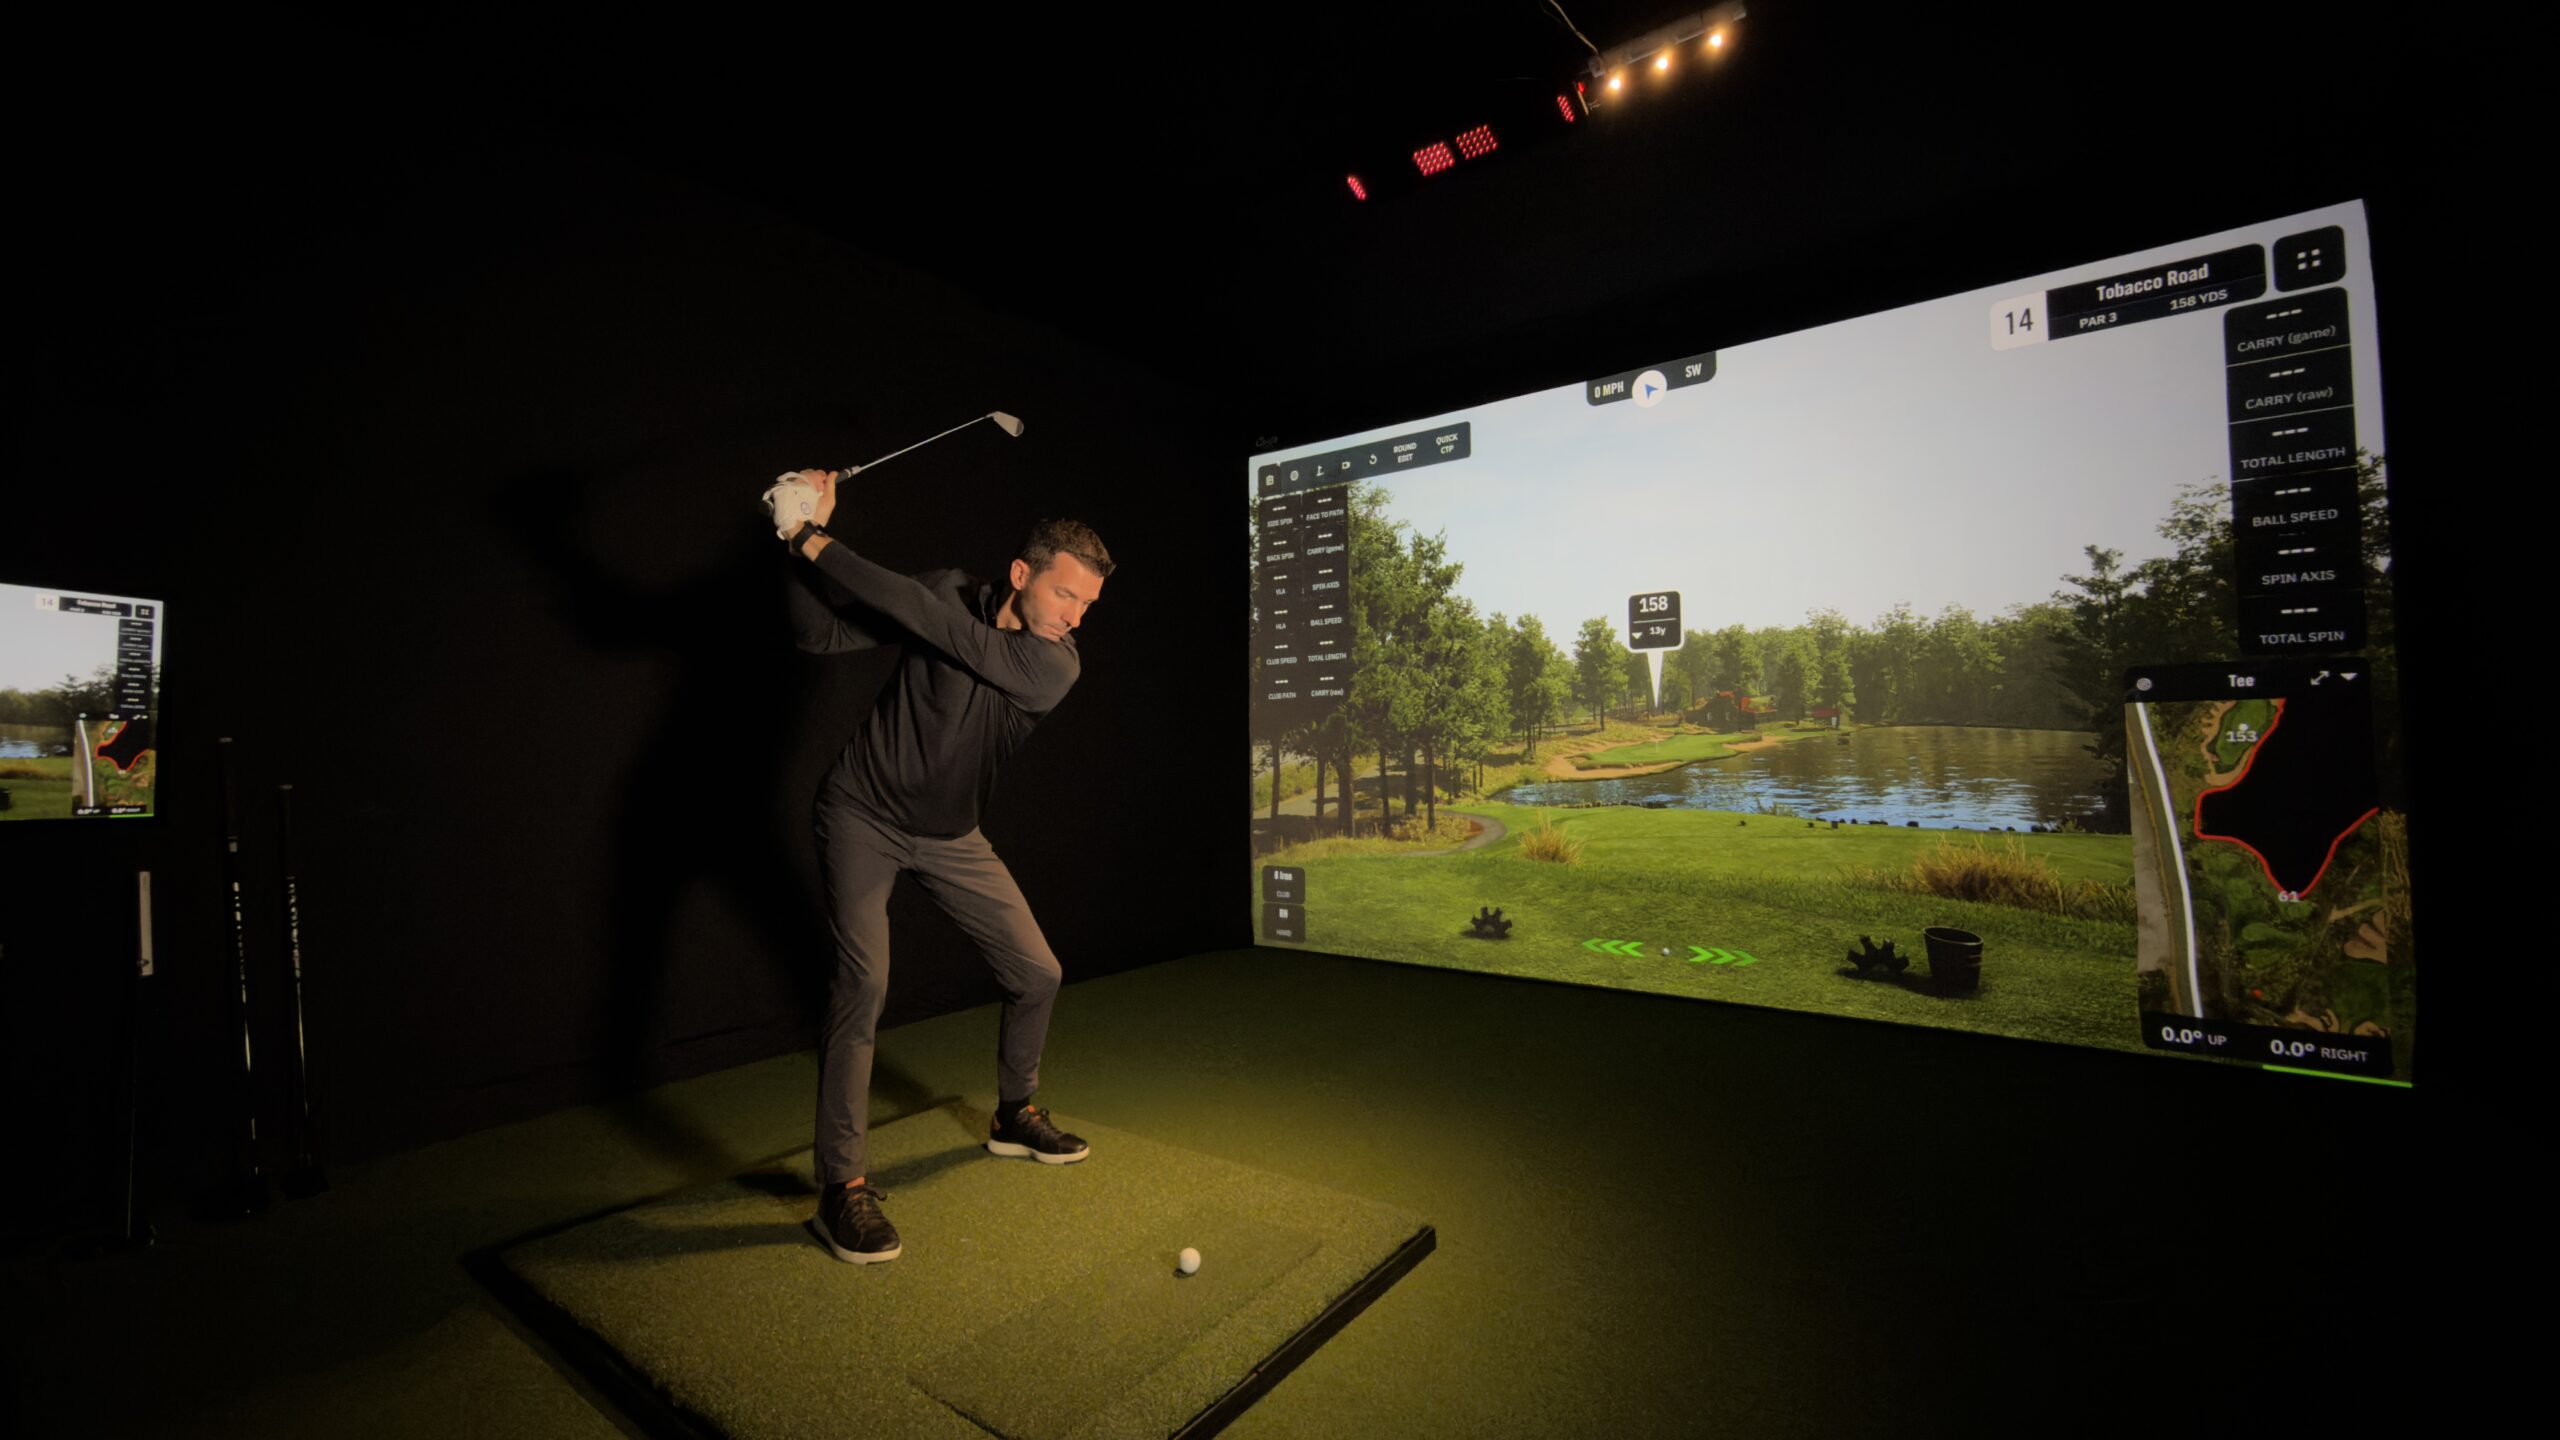
The PRO Enclosure in a Real Commercial Installation
This is the Carl's PRO enclosure Jay built at Warwick Hills Golf and Country Club — a legitimate PGA Tour venue. The PRO line was designed for exactly this kind of environment: high traffic, multiple users, long operating hours, and the expectation that everything just works.
What you notice immediately on the PRO vs the DIY is the frame rigidity, the quality of the ceiling fabric, and the way the border cushions are integrated into the structure rather than added on. This is not a home DIY product dressed up for commercial use — it is built from the ground up for commercial expectations.
Jay's Take: Building this at Warwick Hills was a different experience than any home build. The PRO enclosure handled everything without complaint — ball containment, image quality on the screen, light management. If you are opening a commercial facility, this is the only enclosure I would recommend.
Want Jay's exclusive Carl's discount code? Email him with what you are building and he will send the code plus his honest recommendation.
✉ Email Jay for the CodeUpdated DIY Review — The Version with the Screen That Goes to the Floor
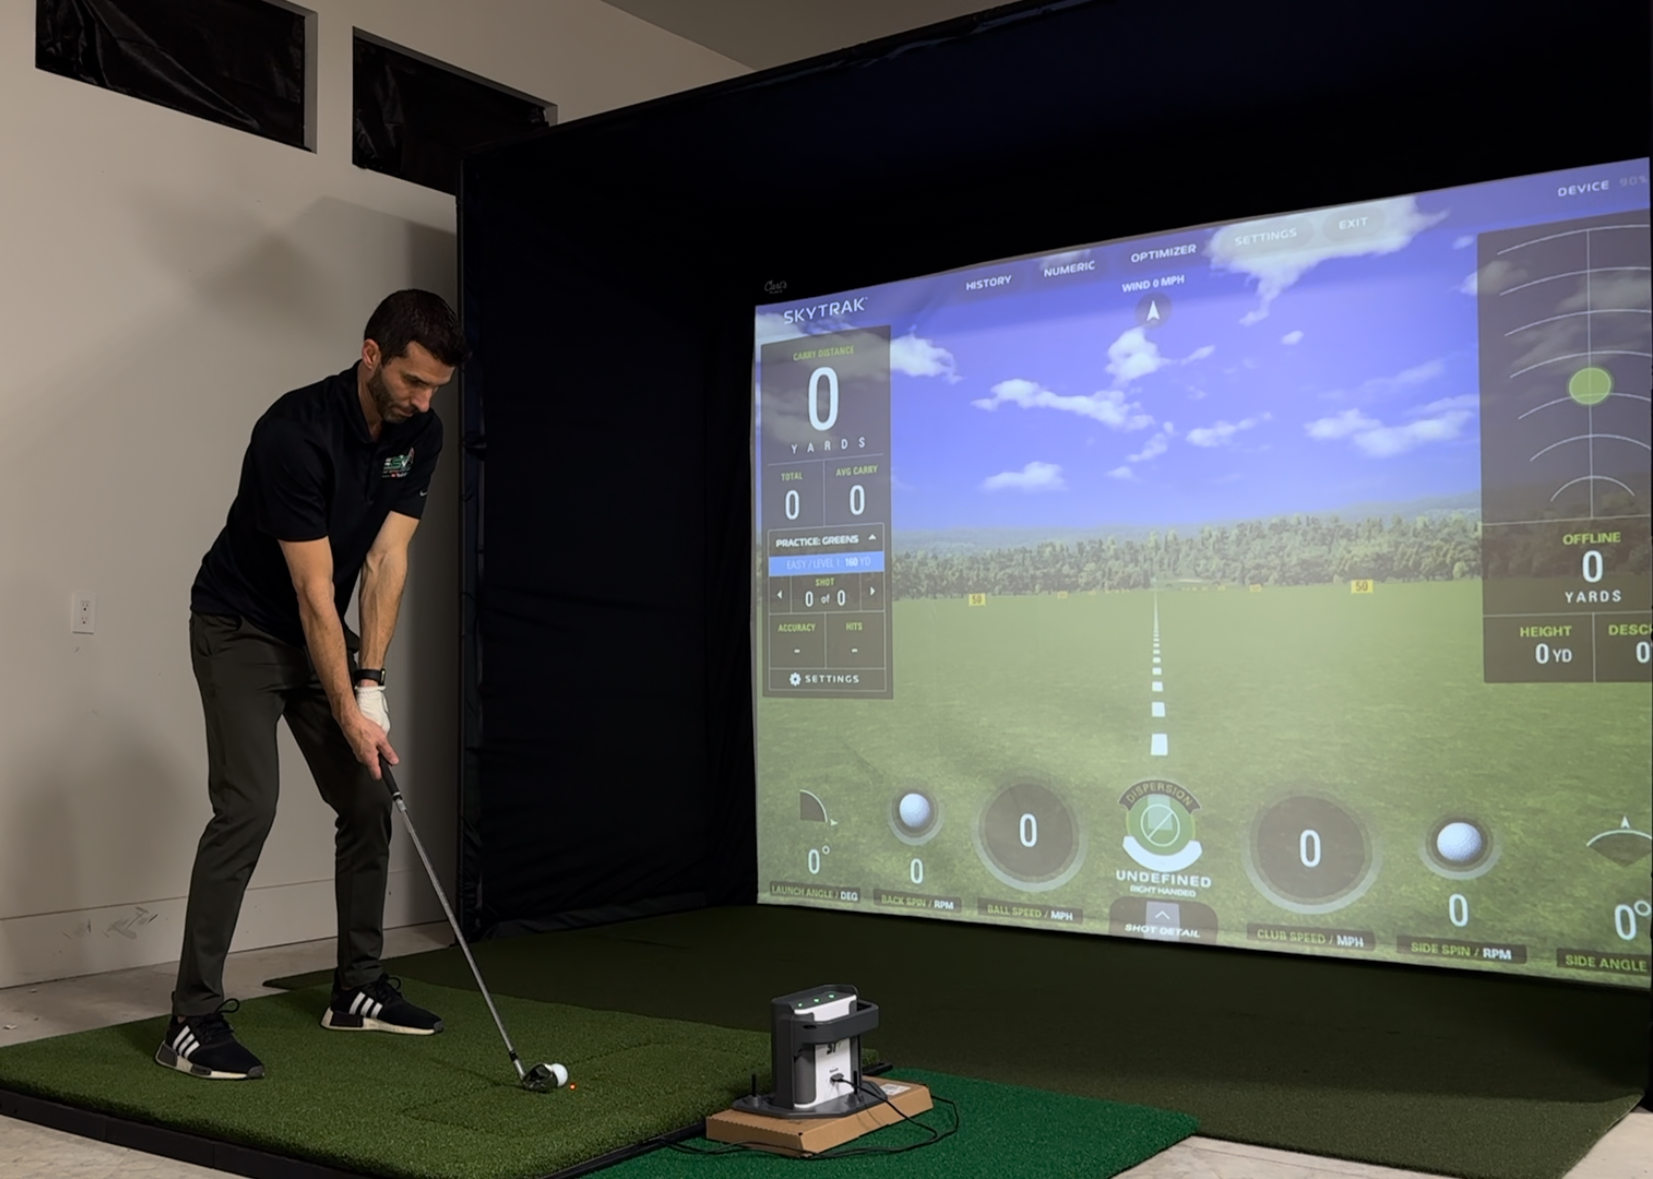
Carl's made a significant update to their DIY enclosure — the new version features a screen that goes all the way to the ground, closing the gap at the bottom that let light in and allowed shots to escape. This is now the standard version and it addresses the most common complaint about the original design. Jay covers the full update here:
Carl's 16:9 Enclosure Build — Full DIY Walkthrough
This is Jay's original full Carl's 16:9 enclosure build video. It is older but covers the complete build process in detail — from measuring your space and choosing your size through full assembly and demo shots with a launch monitor. If you are building a Carl's DIY for the first time, watching this before you start will save you time and frustration.
Everything Carl's Place Makes for Your Golf Simulator
Carl's is not just enclosures. They make every major component of the hitting bay except the launch monitor and projector. Jay's discount code applies across the product lineup:
DIY Enclosure Kits
Complete frame kits in standard sizes. Everything included — structural tubing, corners, screen mount, and ceiling panel. Updated version now goes to the floor. Most popular home simulator enclosure on the market.
PRO Enclosure Kits
Commercial-grade frame system for bays up to 20' x 20'. Shot-absorbing border cushions, black knit ceiling, center play position. Built for facilities, training studios, and high-end home installs.
Premium Impact Screens
Thick multilayer fabric with tight weave for superior image quality. Reduces sound, minimizes bounceback, blocks ambient light. Rated for direct impact up to 250 MPH. Available in multiple aspect ratios.
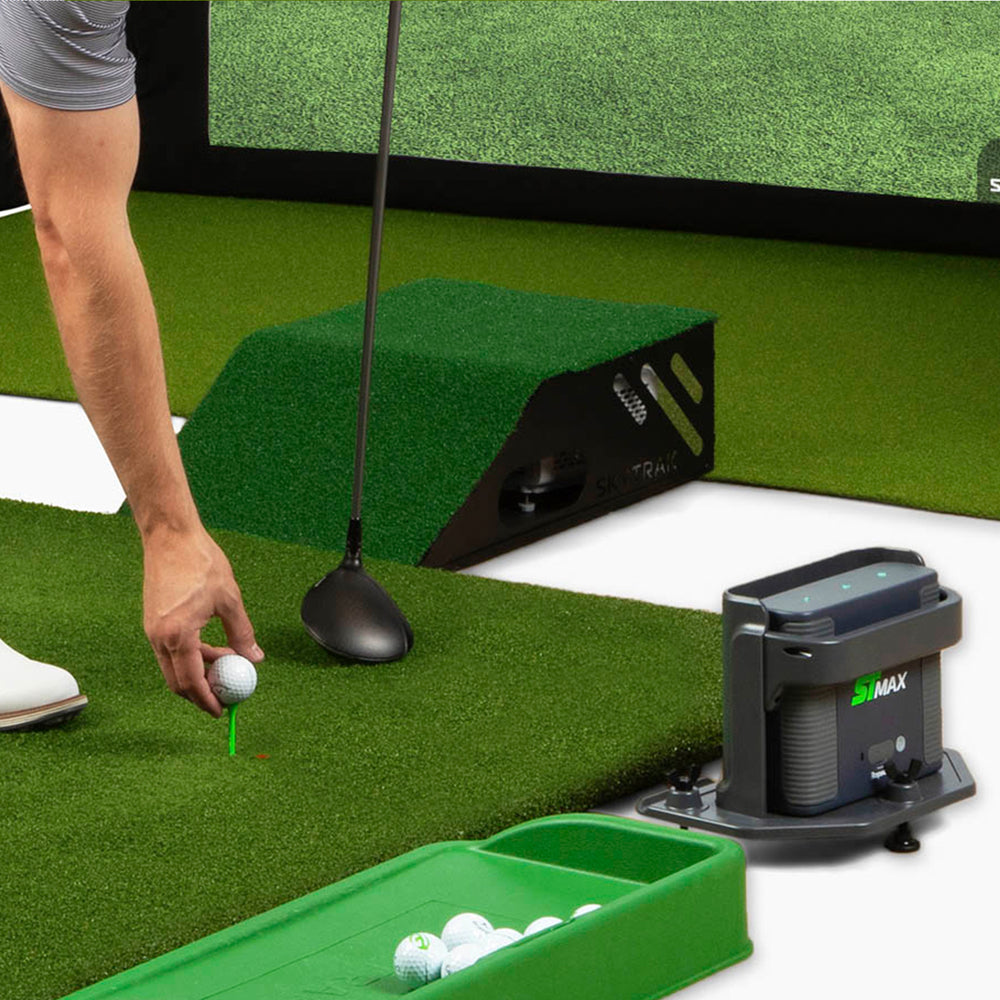
Hot Shot Hitting Mat
Carl's own hitting mat designed specifically for simulator use. Realistic turf feel, durable under repeated impact, available in multiple sizes. Jay uses this in his own studio.
Putting Turf & Flooring
Jay has connections with premium turf suppliers like SynLawn and can help you source the right putting turf and flooring for your simulator bay. Email him with your dimensions and budget and he will point you in the right direction.
Accessories & Add-Ons
Blackout curtains for light control, adjustable crossbars, side netting for safety, ceiling coverage panels, and custom sizing options. Jay covers which accessories are worth adding in his PRO build video.
Carl's DIY vs PRO — Full Comparison
| Feature | Carl's DIY | Carl's PRO |
|---|---|---|
| Best For | Home simulator builders | Commercial facilities, high-end home |
| Max Bay Size | Standard sizes | Up to 20' wide x 20' deep |
| Assembly | Solo, ~60-90 mins | 2 people recommended, longer |
| Border Cushions | Optional add-on | ✓ Standard |
| Ceiling Fabric | Standard | Black knit commercial grade |
| Custom Sizing | — | ✓ Available |
| Screen to Floor | ✓ Updated version | ✓ |
| Continuous Use | Home use | Commercial daily use |
| Discount Code | Email Jay — a98cr125@gmail.com | |
Carl's PRO at Scale — Multi-Bay Commercial Builds
This is what a professional Carl's PRO installation looks like at scale. Multiple bays, consistent builds, professional image quality. Carl's PRO enclosures are the industry standard for commercial golf simulator facilities across the country.
If you are opening a commercial simulator business, a golf training studio, or a multi-bay facility, the PRO is not optional — it is the only enclosure built for this environment. The custom sizing options mean you are not constrained to standard dimensions, which matters in commercial spaces that rarely conform to standard bay sizes.
Jay has helped multiple commercial operators with their Carl's builds. If you are planning a commercial installation and want his input on bay sizing, screen selection, projector placement, and launch monitor positioning, email him before you buy anything — the consultation is free and could save you from costly mistakes.
✉ Email Jay for Commercial AdviceReady to buy? Email Jay for the discount code and his recommendation for your specific space — he responds quickly.
✉ Email Jay for Discount CodeCarl's Place Golf Simulator Enclosure FAQ
How do I get a discount code for Carl's Place?
Email Jay at a98cr125@gmail.com with your name and what you are looking to buy. Carl's Place keeps their discount codes off public coupon sites intentionally — which means they retain real value and actually work at checkout. Jay sends the code directly and can also answer any questions about which product is right for your space.
What is the difference between Carl's DIY and PRO enclosures?
The DIY enclosure is designed for home simulator builds — easy solo assembly, standard sizes, excellent value for a home setup. The PRO is Carl's commercial-grade line supporting bays up to 20' x 20' with shot-absorbing border cushions, commercial black knit ceiling fabric, center play position for left and right-handed use, and custom sizing. The PRO is built for continuous commercial use where the DIY is designed for home environments.
Does the Carl's DIY enclosure screen go to the floor now?
Yes — Carl's updated the DIY enclosure so the screen extends all the way to the floor. This was the most common complaint about the original design where a gap at the bottom let light in and allowed miss-hit shots to escape. The updated version addresses this completely. Jay reviews the update in detail in his latest DIY video above.
What size Carl's enclosure do I need?
For a standard home garage simulator setup, the most common choice is a 10-foot wide by 10-foot tall enclosure. Optimal golf simulator dimensions are roughly 15' wide, 10' tall, and 20' deep. If your space is smaller, the DIY works in tighter rooms. For commercial bays, Carl's PRO supports up to 20' wide and custom sizing is available. Email Jay with your room dimensions and he will tell you exactly which size to order.
What impact screen does Jay recommend with the Carl's enclosure?
Jay uses Carl's own Premium Grey Screen in his builds. It is made from thick multilayer fabric with a tight weave that delivers superior image quality, reduces sound, minimizes bounceback, and blocks ambient light. It is rated for direct ball impact up to 250 MPH. The grey surface provides better image contrast than white screens, especially in rooms with any ambient light. Ask Jay about screen options when you email for the discount code.
Can I build a Carl's DIY enclosure by myself?
Yes — Jay built his Carl's DIY enclosure solo in just over an hour. The assembly is straightforward and Carl's provides clear instructions. Having a second person makes stretching and tensioning the screen easier but it is genuinely a one-person job. The PRO enclosure is more involved and Jay recommends two people for that build, as shown in his PRO review video.
Not sure which Carl's product is right for your space? Email Jay — room dimensions welcome, free advice, discount code included.
✉ Email Jay FreeReady to Buy? Email Jay for the Carl's Code.
The code is not publicly listed — email Jay directly and he will send it along with his honest recommendation for your specific build.
✉ Email Jay — a98cr125@gmail.com → Browse Carl's Place ProductsJay responds quickly — usually within a few hours during the day.