This video will show you how to calibrate the UNEEKOR EYE XO Golf Launch Monitor & Golf Simulator. I will cover various troubleshooting along with setup tips that will help you get your UNEEKOR EYE XO installed properly and precisely.
If you are looking to buy the UNEEKOR EYE XO or UNEEKOR QED Golf Launch Monitors be sure to email me for the best pricing and information at: a98cr125@gmail.com
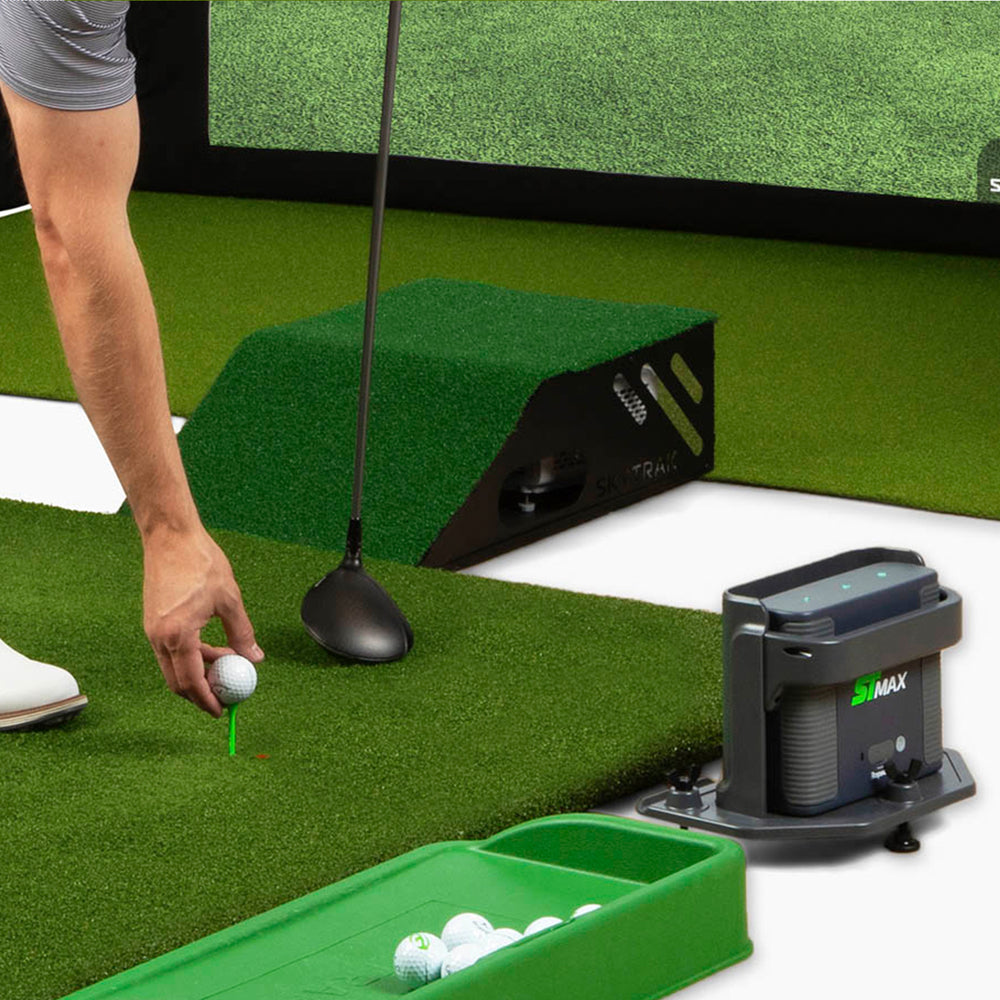
The UNEEKOR EYE XO is a Overhead type, super speed camera-based golf launch monitor. Fully integrated with QED Refine, Succeed, E6 Connect, TCG 2019, and Creative Golf.
The UNEEKOR EYE XO is the most advanced overhead camera based golf launch monitor for several reason. One, is the EYE non-marking ball technology allows you to play, practice, and train with any ball you choose. Second, is all inclusive for the most accurate club data measured in real time.
Whether you’d like to work on hitting longer drives, more accurate iron shots, better putts, or everything together, a precise and speedy launch monitor can help you make it a reality. With precise ball analytics and a full range of club data you can make calculated decisions and educated adjustments for speedy and steady improvement.
EYEXO VIEW Data Output
Ball Data: Club Data:
• Back Spin
• Side Spin
• Total Spin
• Spin Axis
• Ball Impact on Club Face
• Smash Factor
• Club Speed
• Club Path
• Club Face Angle
• Attack Angle
• Club Loft Angle,
• Club Lie Angle,
• Impact Point Vertical
• Impact Point Horizontal
*Ball data: Dimple read *Club data: Read with reflective stickers
Clubface strike is one of the most important variables in golf consistency. Where on the face you hit the ball affects: launch, spin, spin axis, distance, and club fitting. One way to develop a consistent club face strike is understanding exactly where you hit it. The Club OPTIXTM allows you
to see where you exactly strike the ball on the face and gives you a visual example of adjustments necessary to improve consistency.
About UNEEKOR
Uneekor values fairness, true competition, and innovation. We prefer simple and practical design. We are driven to create something to challenge the status quo every day for the benefit of everyone. We find small happiness and joy in the process of greatness. We are unique and leverage the strength of our core capabilities. That is why our name is Uneekor.
Uneekor EYE XO Calibration Guide & Setup Instructions
1 Click “EYEXO_Tool.exe” application.
You will need to search your (C:) Drive
and locate the ”EYEXO Sensor” folder.
Calibration
If you do not see “EYEXO_Tool.exe”
in the “EYEXO Sensor” folder, that
means Windows Defender has
quarantined the file. You will need
to go into your Windows Security
settings under Virus & Threat
Protection.
Click on “Protection History”
and you will need to “restore”
and “allow” the file.
Next you will go into “Exclusions”
and add the files “EYEXO_Tool.exe”
and “EYEXOCam.exe” to the list.
2 Once the “EYEXO_Tool.exe” is
opened you will see this window
EYEXO CALIBRATION GUIDE
Calibration – Continued
4 Use the “SIDE CAM” as your
point of reference. Make sure
the circle on the calibration chart
is towards the back, and align
the circle to where the red
“crosshair” is.
Next place the bubble level
on the chart to confirm
that your hitting mat is level
front to back and side to side.
Confirm the the calibration
chart is squared to your
hitting mat and then click
the “CALIBRATION” button
on the top right corner.
3 Confirm that you see the “STATUS”
boxes for “CENTER CAM,”
“SIDE CAM,” and “XMINI” are
all green.
(if the status is red, that means you
have not properly set the IP
address)
5
SCREEN
Bubble
6 Wait a few seconds and you should
see “Calibration Success.” message
in a separate window. Click the
“Confirm” button and then move onto
“Area Setting” next.
Note: If you do not get a Success
message, please contact
support@uneekor.com
EYEXO CALIBRATION GUIDE
Calibration – Continued
7 Click on the “Area Setting” button
and the following window will
appear. Make sure “One Area
mode” is checked “ON.”
Next you will need to click and drag
the green rectangle so the top
is aligned with the top of the
calibration chart. The green
rectangle is your hitting area.
Click “Confirm” to save the changes.
8 Confirm your calibration looks
like the example to the right.
If it does not, then you must either
adjust your hitting mat or remount
the sensor so your hitting area is
centered with the “SIDE CAM.”
Click “Confirm” and you are now
finished with calibration.
Chapters
00:00 Intro
02:58 Tips & Troubleshooting
06:18 EYE XO Calibration
09:22 Hitting Area Setting
11:55 View Test
13:38 Succeed Putting Test
17:20 Wrap Up
Uneekor EYE XO, Uneekor Golf Simulator