Golf simulators have gained popularity among enthusiasts looking to practice their swings year-round, regardless of weather conditions. However, building a high-quality golf simulator often comes with a hefty price tag. Fortunately, with careful planning and some DIY spirit, you can create a budget golf simulator that offers a realistic experience without breaking the bank. In this guide, we will cover the essential components, tips, and techniques to build an effective golf simulator, drawing inspiration from expert recommendations.
Why Build a Golf Simulator?
Building your own golf simulator offers several advantages:
- Cost-Effective: Buying a pre-made simulator can cost thousands. Building your own allows you to save money by sourcing materials and equipment selectively.
- Customization: You can tailor the setup to your specific preferences and space constraints.
- Convenience: Enjoy golf in the comfort of your home, at any time, without the hassle of travel or weather interruptions.
- Skill Improvement: Regular practice can enhance your skills, and having a simulator at home makes it easier to keep up with training.
Key Components of a Budget Golf Simulator
Creating a budget golf simulator involves several critical components. Here’s a breakdown of what you need:
1. Space Considerations
Before investing in equipment, evaluate your available space:
- Room Size: A minimum space of 10 feet long, 8 feet wide, and 9 feet high is ideal. However, smaller spaces can still work with some adjustments.
- Ceiling Height: Ensure there’s ample height for your swing. If you’re a tall player or have a high swing, consider a room with a ceiling of at least 10 feet.
- Lighting: Good lighting is essential for camera-based systems. Natural light can be beneficial, but avoid direct sunlight to minimize glare.
2. Screen and Impact Net
A quality screen and net will protect your walls and windows from stray golf balls while providing a good visual experience:
- Screen: Consider purchasing a high-definition impact screen specifically designed for simulators. These can be found for around $100 to $300 depending on size.
- Impact Net: An impact net is crucial for catching balls. You can find affordable options online, or you can even create one using heavy-duty fabric.
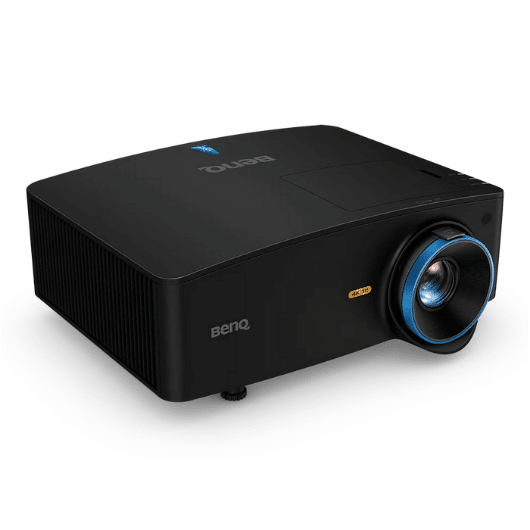
3. Projector
A projector is key to displaying the simulation on your screen:
- Type: Opt for a short-throw projector to minimize the distance required. This setup is particularly useful in smaller spaces.
- Resolution: Look for at least a 1080p resolution for a clear and immersive experience.
- Cost: You can find decent projectors for around $300 to $700. Brands like BenQ and Epson offer models that fit this range.
4. Golf Simulator Software
The software you choose determines the realism and features of your simulation experience:
- Options: There are several affordable simulator software options like “The Golf Club” or “E6 Connect” that often have demo versions or lower-tier pricing.
- Compatibility: Ensure the software is compatible with your chosen launch monitor (more on that below).
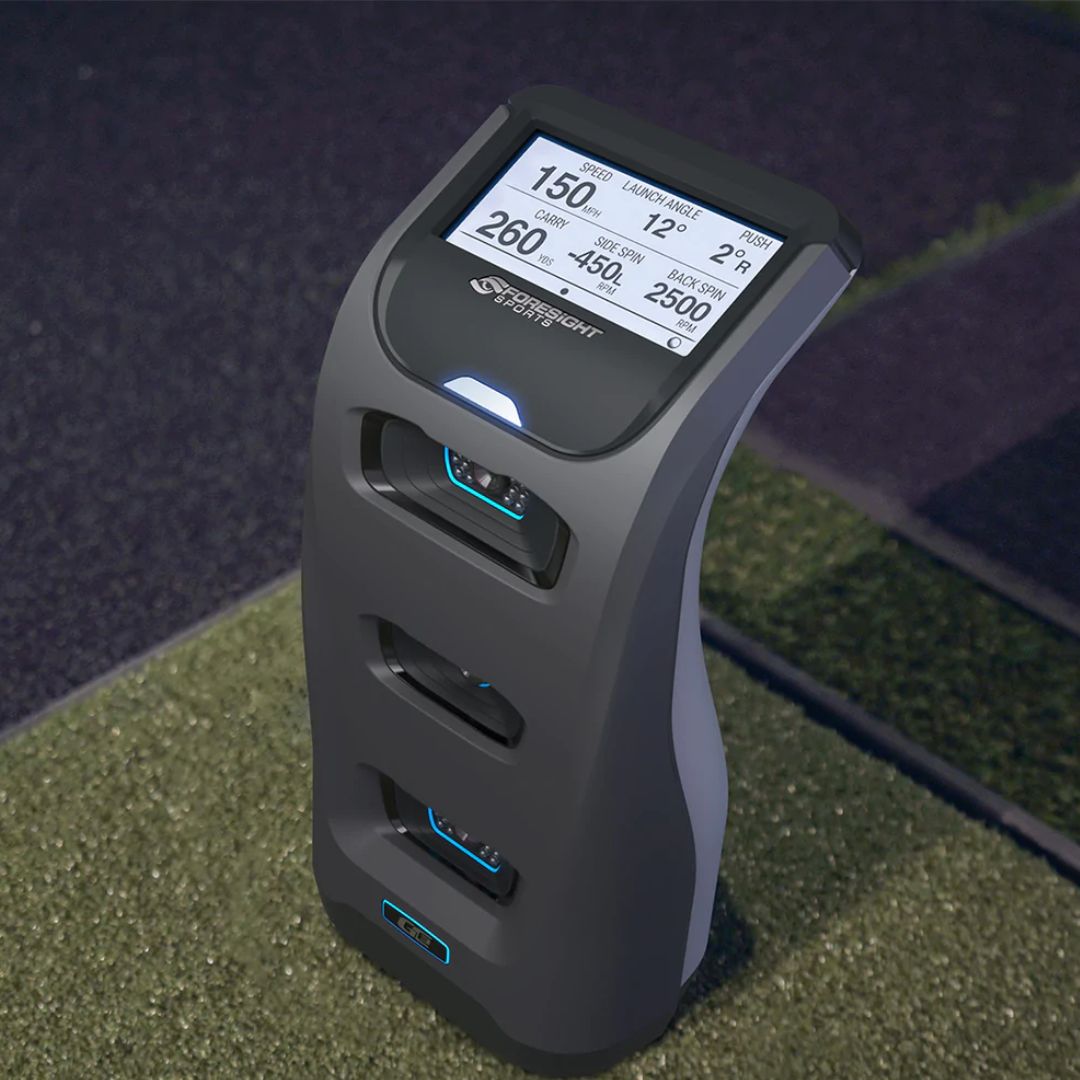
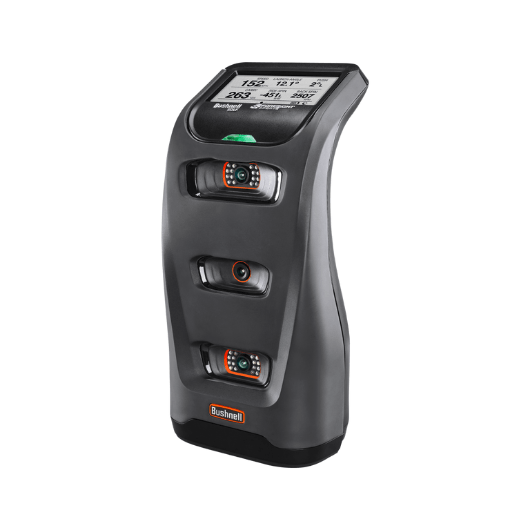
5. Launch Monitor
A launch monitor is crucial for tracking your shots and providing data:
- Affordable Options: Look into options like the “Rapsodo Mobile Launch Monitor” or “Mevo,” which offer budget-friendly models priced between $400 to $600.
- Features: Ensure that the launch monitor provides essential metrics such as ball speed, launch angle, and carry distance.
6. Mat and Tees
A good hitting mat and tee are vital for a realistic experience:
- Mat: Purchase a quality hitting mat that simulates the feel of grass. Look for one with a rubber base to prevent slipping.
- Tees: Consider adjustable tees that accommodate different club lengths.
7. Accessories
Additional accessories can enhance your setup:
- Golf Clubs: Use your existing clubs or invest in a set suited for indoor practice.
- Ball Return System: A simple ball return can save time by automatically returning balls to your hitting area.
- Storage: Create a storage area for clubs and accessories to keep your space organized.
Step-by-Step Guide to Building Your Simulator
Now that you understand the components, let’s walk through the process of setting up your budget golf simulator:
Step 1: Plan Your Space
Choose the ideal location for your simulator. Ensure the room is well-ventilated, and consider how you will position the screen and projector. Mark where you’ll place the hitting area and ensure you have enough clearance.
Step 2: Install the Screen and Net
Secure your impact screen to the wall using heavy-duty hooks or a frame. Ensure it is taut to avoid wrinkles that can distort the image. Set up your impact net behind the screen to catch stray balls.
Step 3: Set Up the Projector
Mount your projector on the ceiling or place it on a stable surface. Position it to ensure the projected image aligns perfectly with your screen. Test the projection to confirm clarity and alignment.
Step 4: Install the Launch Monitor
Place the launch monitor on a flat surface at the recommended distance from your hitting area. Ensure it is calibrated according to the manufacturer’s instructions. Connect it to your computer or device running the simulator software.
Step 5: Connect Your Software
Download and install your chosen golf simulator software. Follow the setup instructions to connect it to your launch monitor. Test the software to ensure it tracks your shots accurately.
Step 6: Add Accessories
Place your hitting mat in front of the screen, and set up your ball return system if you have one. Store your clubs and accessories nearby for easy access.
Step 7: Test and Fine-Tune
Once everything is set up, take a few test swings. Adjust the projector and launch monitor as needed to ensure accurate readings and a clear image. Make any necessary tweaks to your setup.
Tips for an Enhanced Experience
To get the most out of your budget golf simulator, consider these tips:
- Regular Maintenance: Keep your equipment clean and well-maintained to ensure longevity and performance.
- Practice Routine: Establish a regular practice routine to improve your skills. Set goals for each session to track your progress.
- Join Online Communities: Engage with other golf simulator enthusiasts online for tips, support, and to share experiences.
- Experiment with Settings: Don’t be afraid to adjust the software settings to find what feels best for your playing style.
- Invite Friends: Make your simulator a social experience by inviting friends for a friendly competition or a practice session.
Conclusion
Building a budget golf simulator can be a rewarding project that enhances your game while saving you money. By carefully selecting your components and following the steps outlined above, you can create an effective setup that meets your golfing needs. Remember, the key is to focus on quality and functionality, ensuring that your simulator provides an enjoyable and realistic experience. Now, get ready to swing into action and improve your golf skills from the comfort of your home!
Email Me to get Discount Codes and More Information on DIY Golf Simulator Packages!


